Create a self hosted MLops platform with ClearML
Create a self hosted MLops platform with ClearML
Table of contents
Background
The more I work with machine learning, the more I realize that the tools we use to manage our experiments and models are just as important as the algorithms themselves. In my job I already manage our MLops platform using MLFlow and I have been using it for a while now. However, I wanted to explore other options and see if there are any better alternatives out there. That’s when I stumbled upon ClearML for my home lab. ClearML is an open-source platform that provides a complete solution for managing machine learning experiments, from data management to model deployment. It has a user-friendly interface and offers a wide range of features that make it easy to track and manage your experiments. In this post, I will walk you through the process of setting up ClearML on your own server, so you can start using it for your own projects.
In order to ease the tutorial, I will assume that you are using a Linux server with Docker installed. In fact this tutorial is the direct sequel of my previous post on how to set up a self hosted s3 storage with MinIO and I will use the same server for this tutorial. If you are using a different operating system, the steps may vary slightly, but the overall process should be similar.
Preparing for the installation
According to the ClearML documentation, there’s multiple ways to deploy the open-source ClearML server. However, the easiest way to deploy it on a local machine without using any cloud provider is to use Docker. This is the method I will use in this tutorial. Most of the instructions are taken from the official documentation, I also invite you to check it out for more details.
First we increase the vm.max_map_count to 262144. This is a requirement for Elasticsearch, which is used by ClearML for indexing and searching. You can do this by running the following command:
1
2
3
4
echo "vm.max_map_count=262144" > /tmp/99-clearml.conf
sudo mv /tmp/99-clearml.conf /etc/sysctl.d/99-clearml.conf
sudo sysctl -w vm.max_map_count=262144
sudo snap docker restart # installing docker through the ubuntu installer installs it as a snap
Then we create a bunch of directories that will be used by ClearML and set the permissions to allow the ClearML server to access them. You can do this by running the following commands:
1
2
3
4
5
6
7
8
9
sudo mkdir -p /opt/clearml/data/elastic_7
sudo mkdir -p /opt/clearml/data/mongo/db
sudo mkdir -p /opt/clearml/data/mongo/configdb
sudo mkdir -p /opt/clearml/data/redis
sudo mkdir -p /opt/clearml/logs
sudo mkdir -p /opt/clearml/config
sudo mkdir -p /opt/clearml/data/fileserver

sudo chown -R 1000:1000 /opt/clearml
Then we need to set the clearml host ip address. As I am connected to this machine over ssh and will do some port forwarding I simply listen to every interfaces (so 0.0.0.0):
1
export CLEARML_HOST_IP=0.0.0.0
Getting the docker-compose file
ClearML provides a docker-compose file that you can use to deploy the server. You can download it by running the following command, I also recommend to store it in the /opt/clearml directory we just created:
1
2
3
cd /opt/clearml
# Download the docker-compose file
wget https://raw.githubusercontent.com/clearml/clearml-server/refs/heads/master/docker/docker-compose.yml
and we can run docker-compose to start the server.
1
docker-compose -f /opt/clearml/docker-compose.yml up -d
If everything went well, you should be able to access the ClearML web interface by going to http://
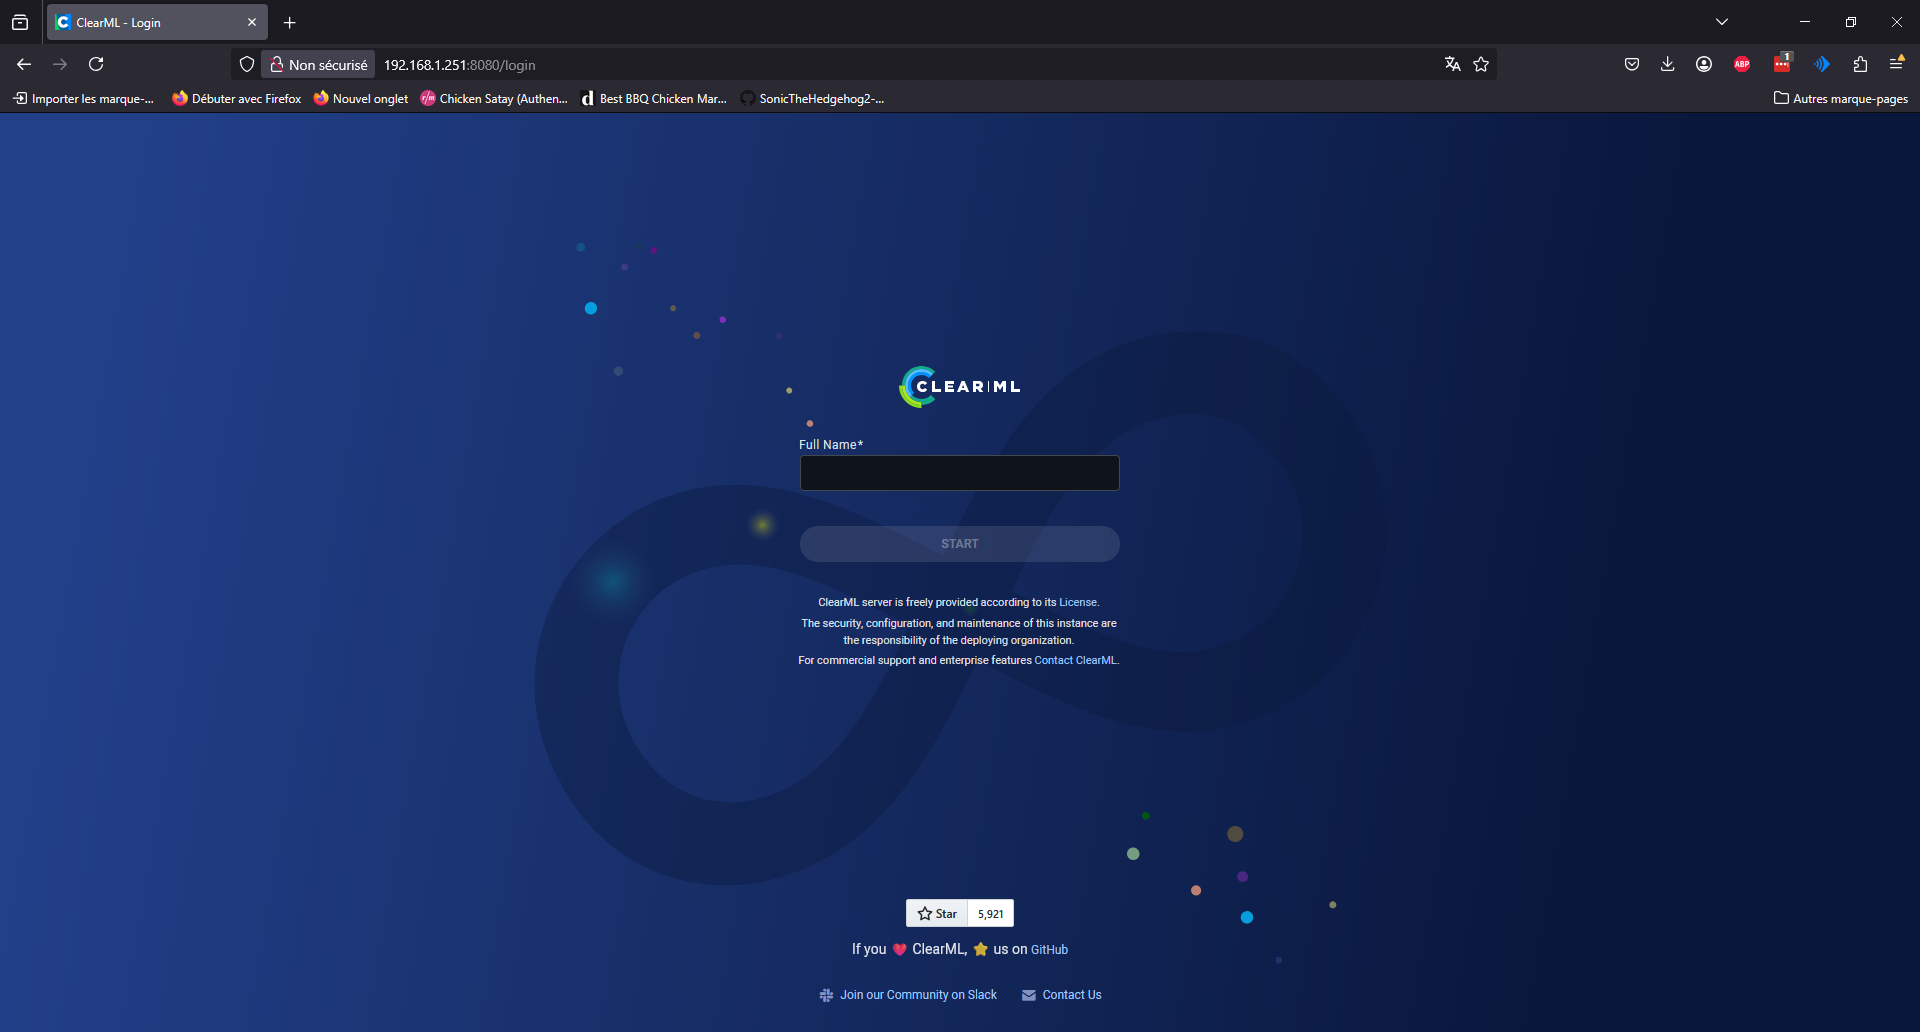
Figure 1: The ClearML login page
Tesing the installation with a simple experiment
#TODO
```bash